Creating a visually stunning and user-friendly online store is a breeze with Elementor Pro and WooCommerce. In this step-by-step guide, we’ll walk you through the process of setting up Elementor Pro in WordPress and using the Elementor plugin to leverage powerful WooCommerce widgets for your e-commerce venture.
Step 1: Install and Activate Elementor Pro
Begin by logging in to your WordPress dashboard.
Navigate to “Plugins” and click on “Add New.”
Search for “Elementor” and install the Elementor plugin. Activate it.
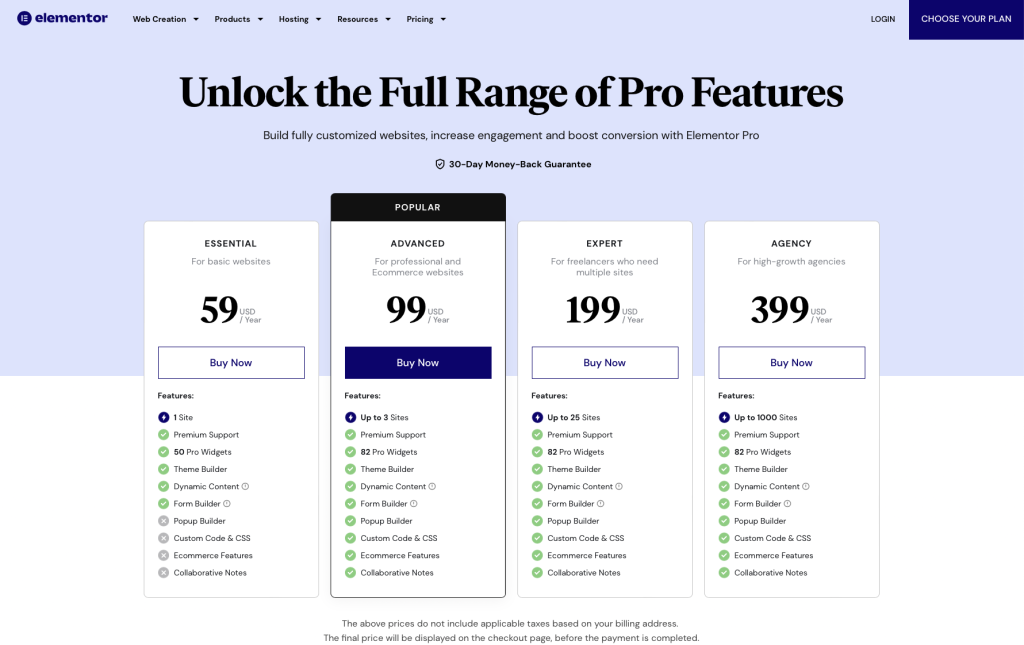
Note: Ensure you have Elementor Pro installed, which is the premium version offering advanced features compatible with WooCommerce.
Want help getting started? Contact Us Here
Step 2: Install and Configure WooCommerce
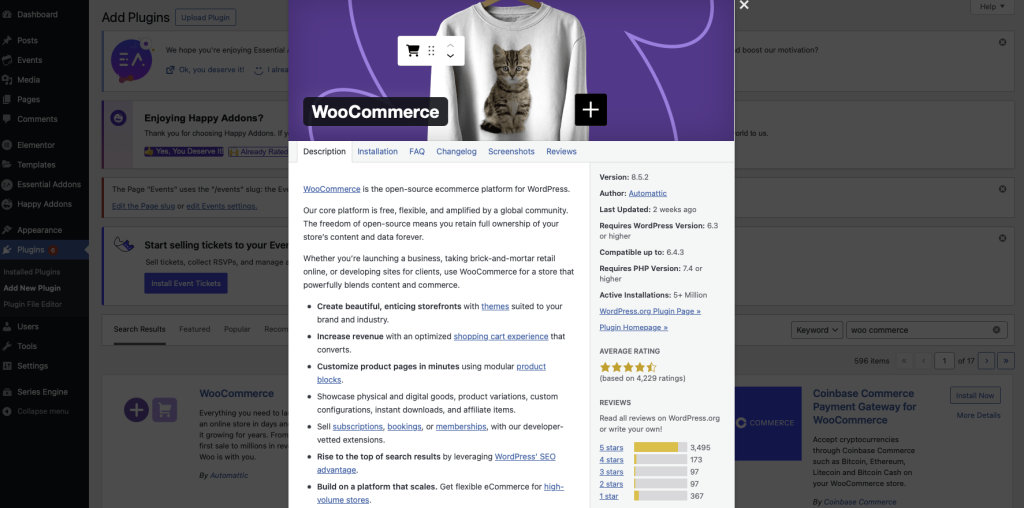
In the WordPress dashboard, go to “Plugins” and select “Add New.”
Search for “WooCommerce” and install the plugin. Activate it.
Follow the WooCommerce setup wizard to configure your store settings, currency, payment options, and shipping methods.
Choose how you want to get paid. Conveniently manage payments from the comfort of your store with WooPayments (Available in the U.S., U.K., Ireland, Australia, New Zealand, Canada, Spain, France, Germany, and Italy). Securely accept credit cards, mobile wallets, bank transfers, and cash thanks to 100+ payment gateways – including Stripe, PayPal, and Square.

Step 3: Enable Elementor for WooCommerce
After installing Elementor and WooCommerce, go to “Elementor” in the WordPress dashboard.
Navigate to “Settings” and select the “Integrations” tab.
Toggle the “WooCommerce” option to enable Elementor for WooCommerce.
Step 4: Create a New Product Page with Elementor
Go to “Pages” in your WordPress dashboard and click “Add New.”
Give your page a title, like “Shop” or “Products.”
Click on the “Edit with Elementor” button to launch the Elementor page builder.
SiteHatchery can help you get started! Contact Us Here

Step 5: Add WooCommerce Widgets with Elementor
Inside Elementor, you’ll find a range of WooCommerce widgets in the left panel.
Drag and drop widgets like “Products,” “Add to Cart,” and “Product Title” onto your page.
Customize the appearance and layout of each widget using the intuitive Elementor editor.

Step 6: Design Product Archive and Single Product Pages
In Elementor, navigate to “Templates” and choose “Theme Builder.”
Create a new template for “Product Archive” to design the main shop page.
Similarly, create a template for “Single Product” to customize individual product pages.
Step 7: Style Your WooCommerce Shop
Utilize Elementor’s styling options to create a cohesive and visually appealing design.
Customize colors, typography, and spacing to match your brand.
Try using the Elementor Hello Theme to get started.

Step 8: Create Navigation for Your Website
In the WordPress dashboard, go to “Appearance” and select “Menus.”
Create a new menu and assign it a name (e.g., “Main Menu”).
Add the pages you created using Elementor, such as your “Shop” or “Products” page, to the menu.
Arrange the menu items in the desired order by dragging and dropping them.
Set the menu as the primary navigation menu in your theme.
Save the menu.
Step 9: Preview and Publish
Click “Preview” to see how your WooCommerce-enabled Elementor-designed pages look.
If satisfied, click “Publish” to make your changes live.

Step 10: Test Your Online Store
Perform a thorough test of your online store. Check product pages, the shopping cart, and the checkout process to ensure everything works smoothly.
Congratulations! You’ve successfully set up Elementor Pro with WooCommerce, giving your online store a professional and customizable touch.
With the powerful combination of Elementor’s intuitive design capabilities and WooCommerce’s e-commerce functionality, you’re well on your way to creating a visually stunning and highly functional online shopping experience for your customers.
Happy selling!
Want help getting started? SiteHatchery can help get your store online! Contact Us Here

